Stripe: Beyond the "Getting Started" Docs
I’ve been working with Stripe recently for my latest project, Skilltree. Getting a robust, well-tested integration out the door feels rather involved, and worse, it doesn’t seem like there’s a lot of implementations out there you can reference. So I wanted to show you what I came up with.
If it helps you, great! If you think I did something wrong and want to tell me about it, even better!
Disclaimer time: I wouldn’t blindly copy this code. This isn’t a stackoverflow answer – I’m not entirely sure it’s the best way to do things. It’s just the best I’ve put together, thus far.
Requirements 📝
Let’s start with a look at what we’d like to accomplish:
- One plan $49 / mo, to keep things simple
- Two week trial
- Start off trialing without needing to involve Stripe at all
- Can add payment info / set up subscription before your trial is over, but you still get the remainder of your trial before we start billing
- You can cancel at anytime and finish out the month you’ve paid for (a la Netflix or Hulu or GitHub)
- If you don’t have a credit card set, when you click to start a subscription, we should ask you for credit card info
- If you have credit card info (say you started a subscription, cancelled, and are starting again), and you click to start a subscription, we can skip a form entirely
- You can add credit card info without starting a subscription – though that’s admittedly an odd workflow, why should we stand in the way of it (this’ll make more sense when you see the page structure)
- We need to detect when stripe is no longer able to charge the user’s card and adjust their account status accordingly
- Display past payments
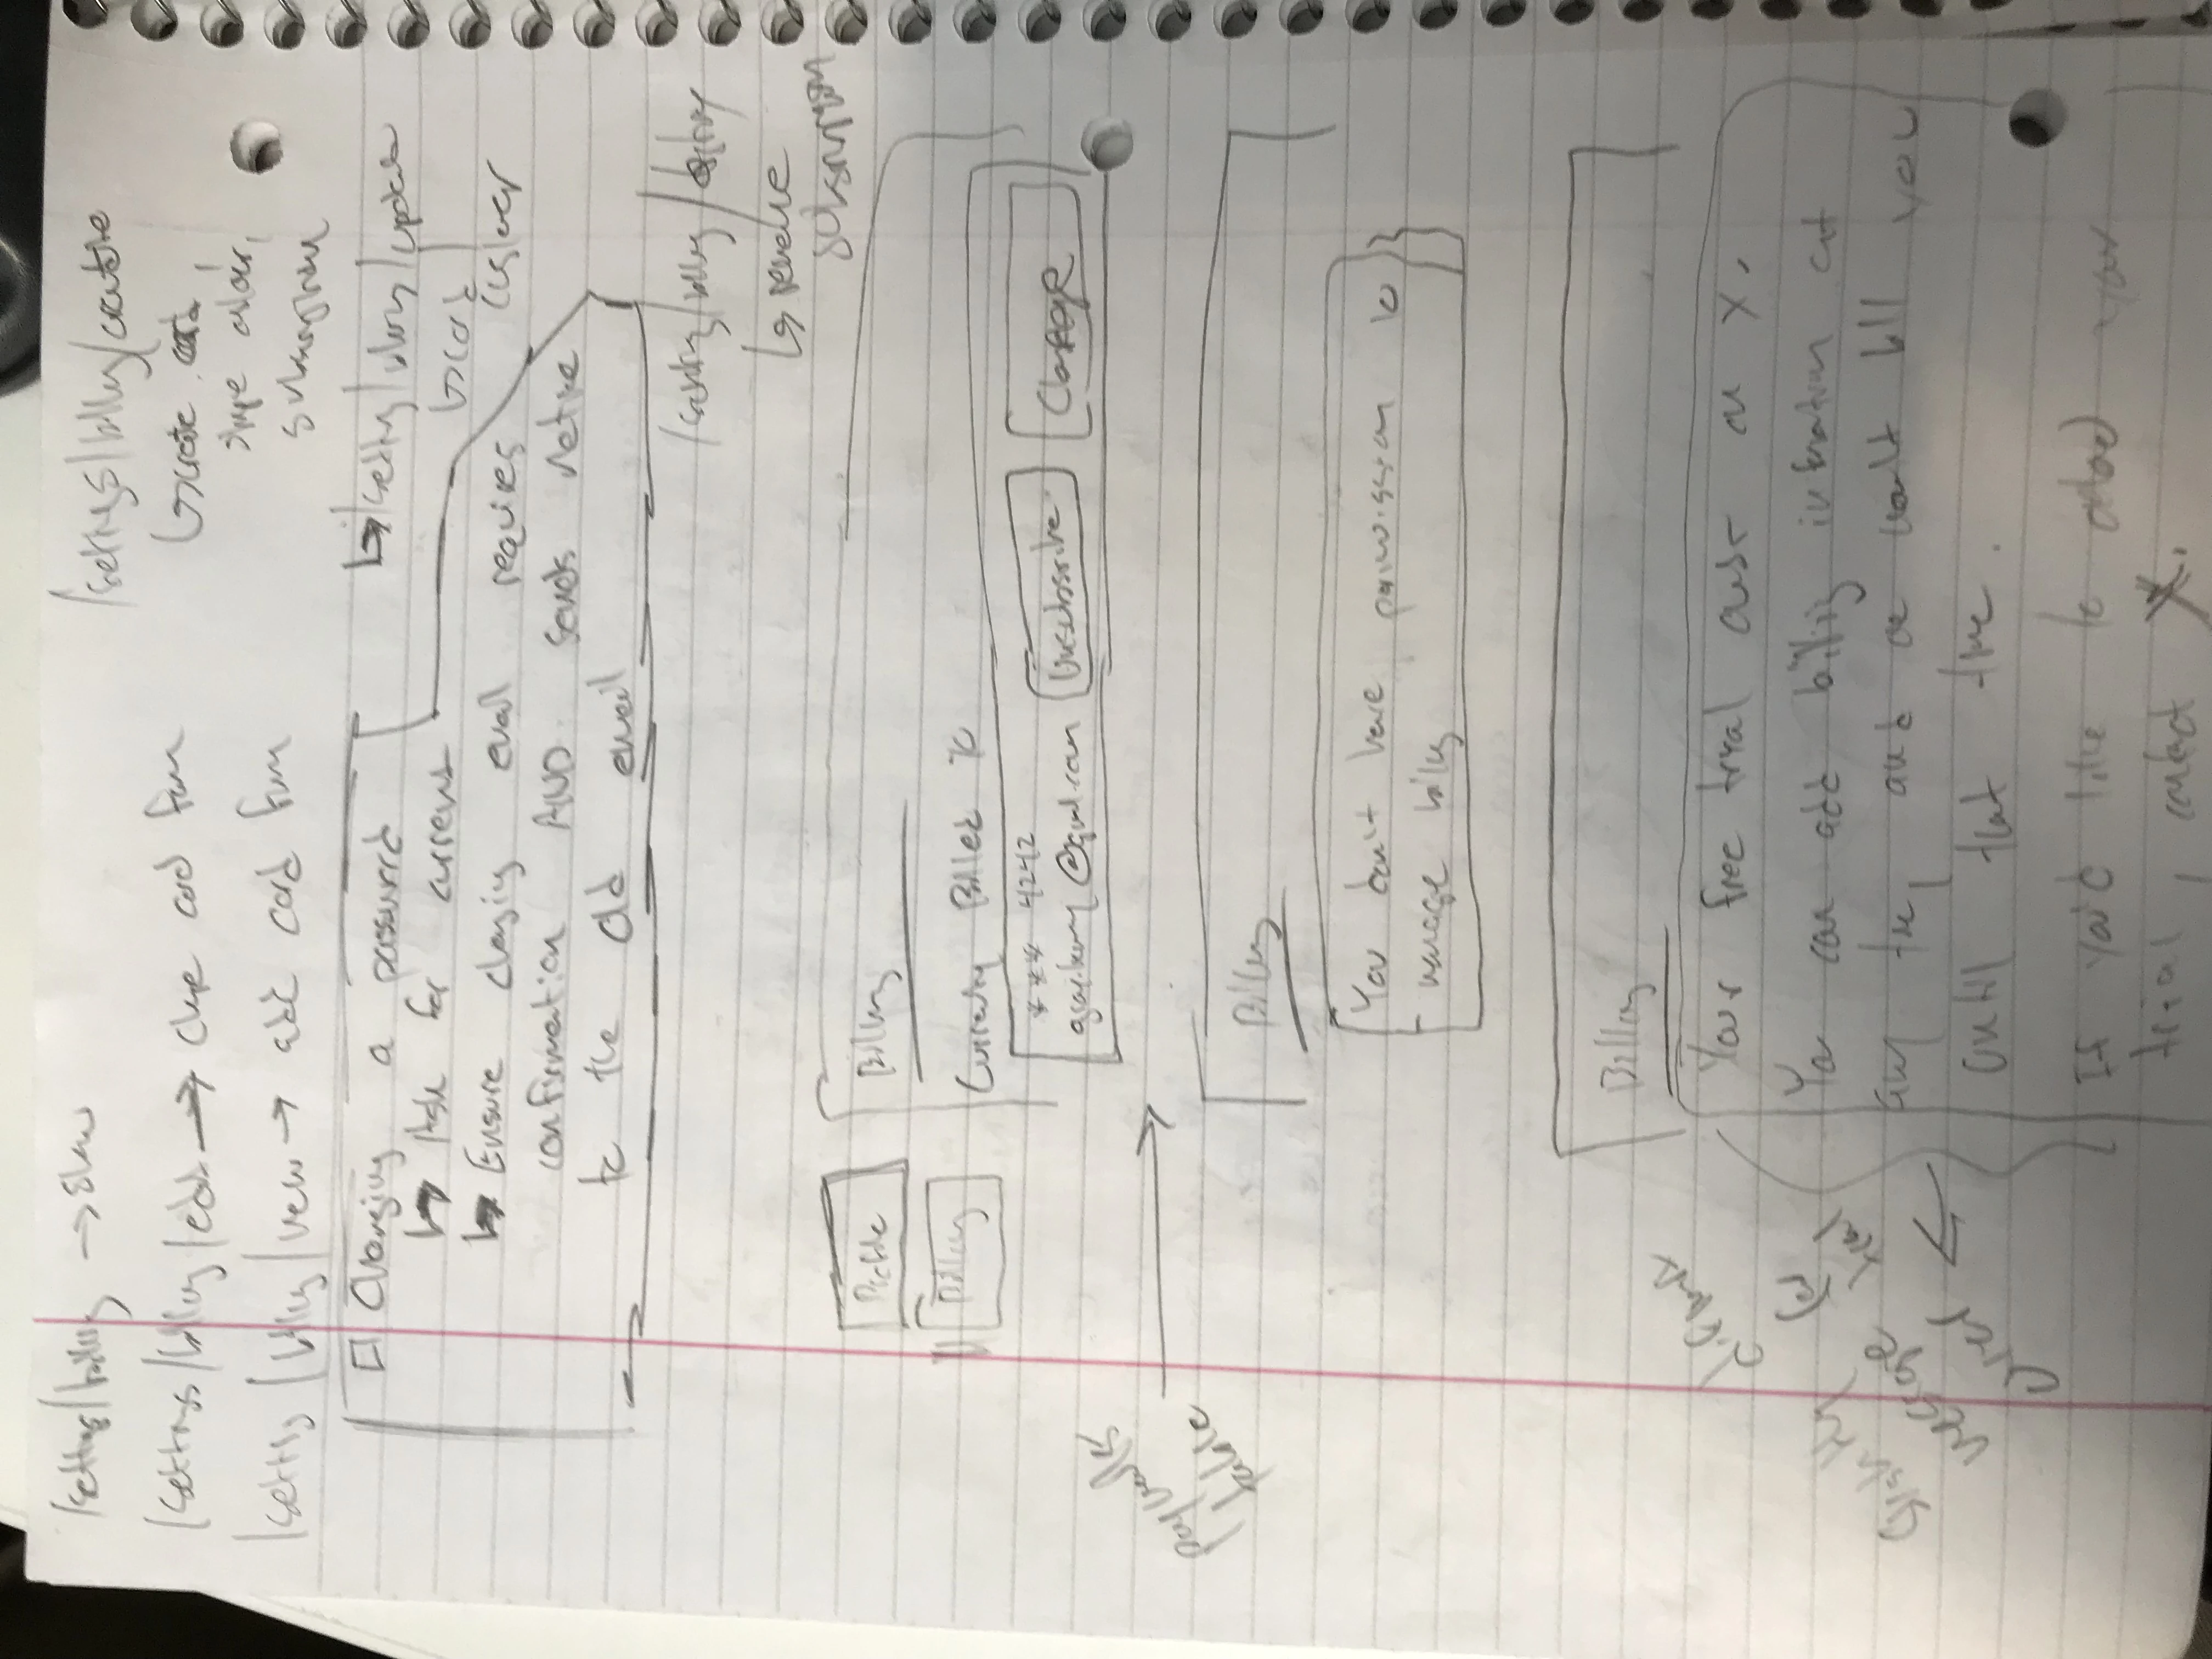
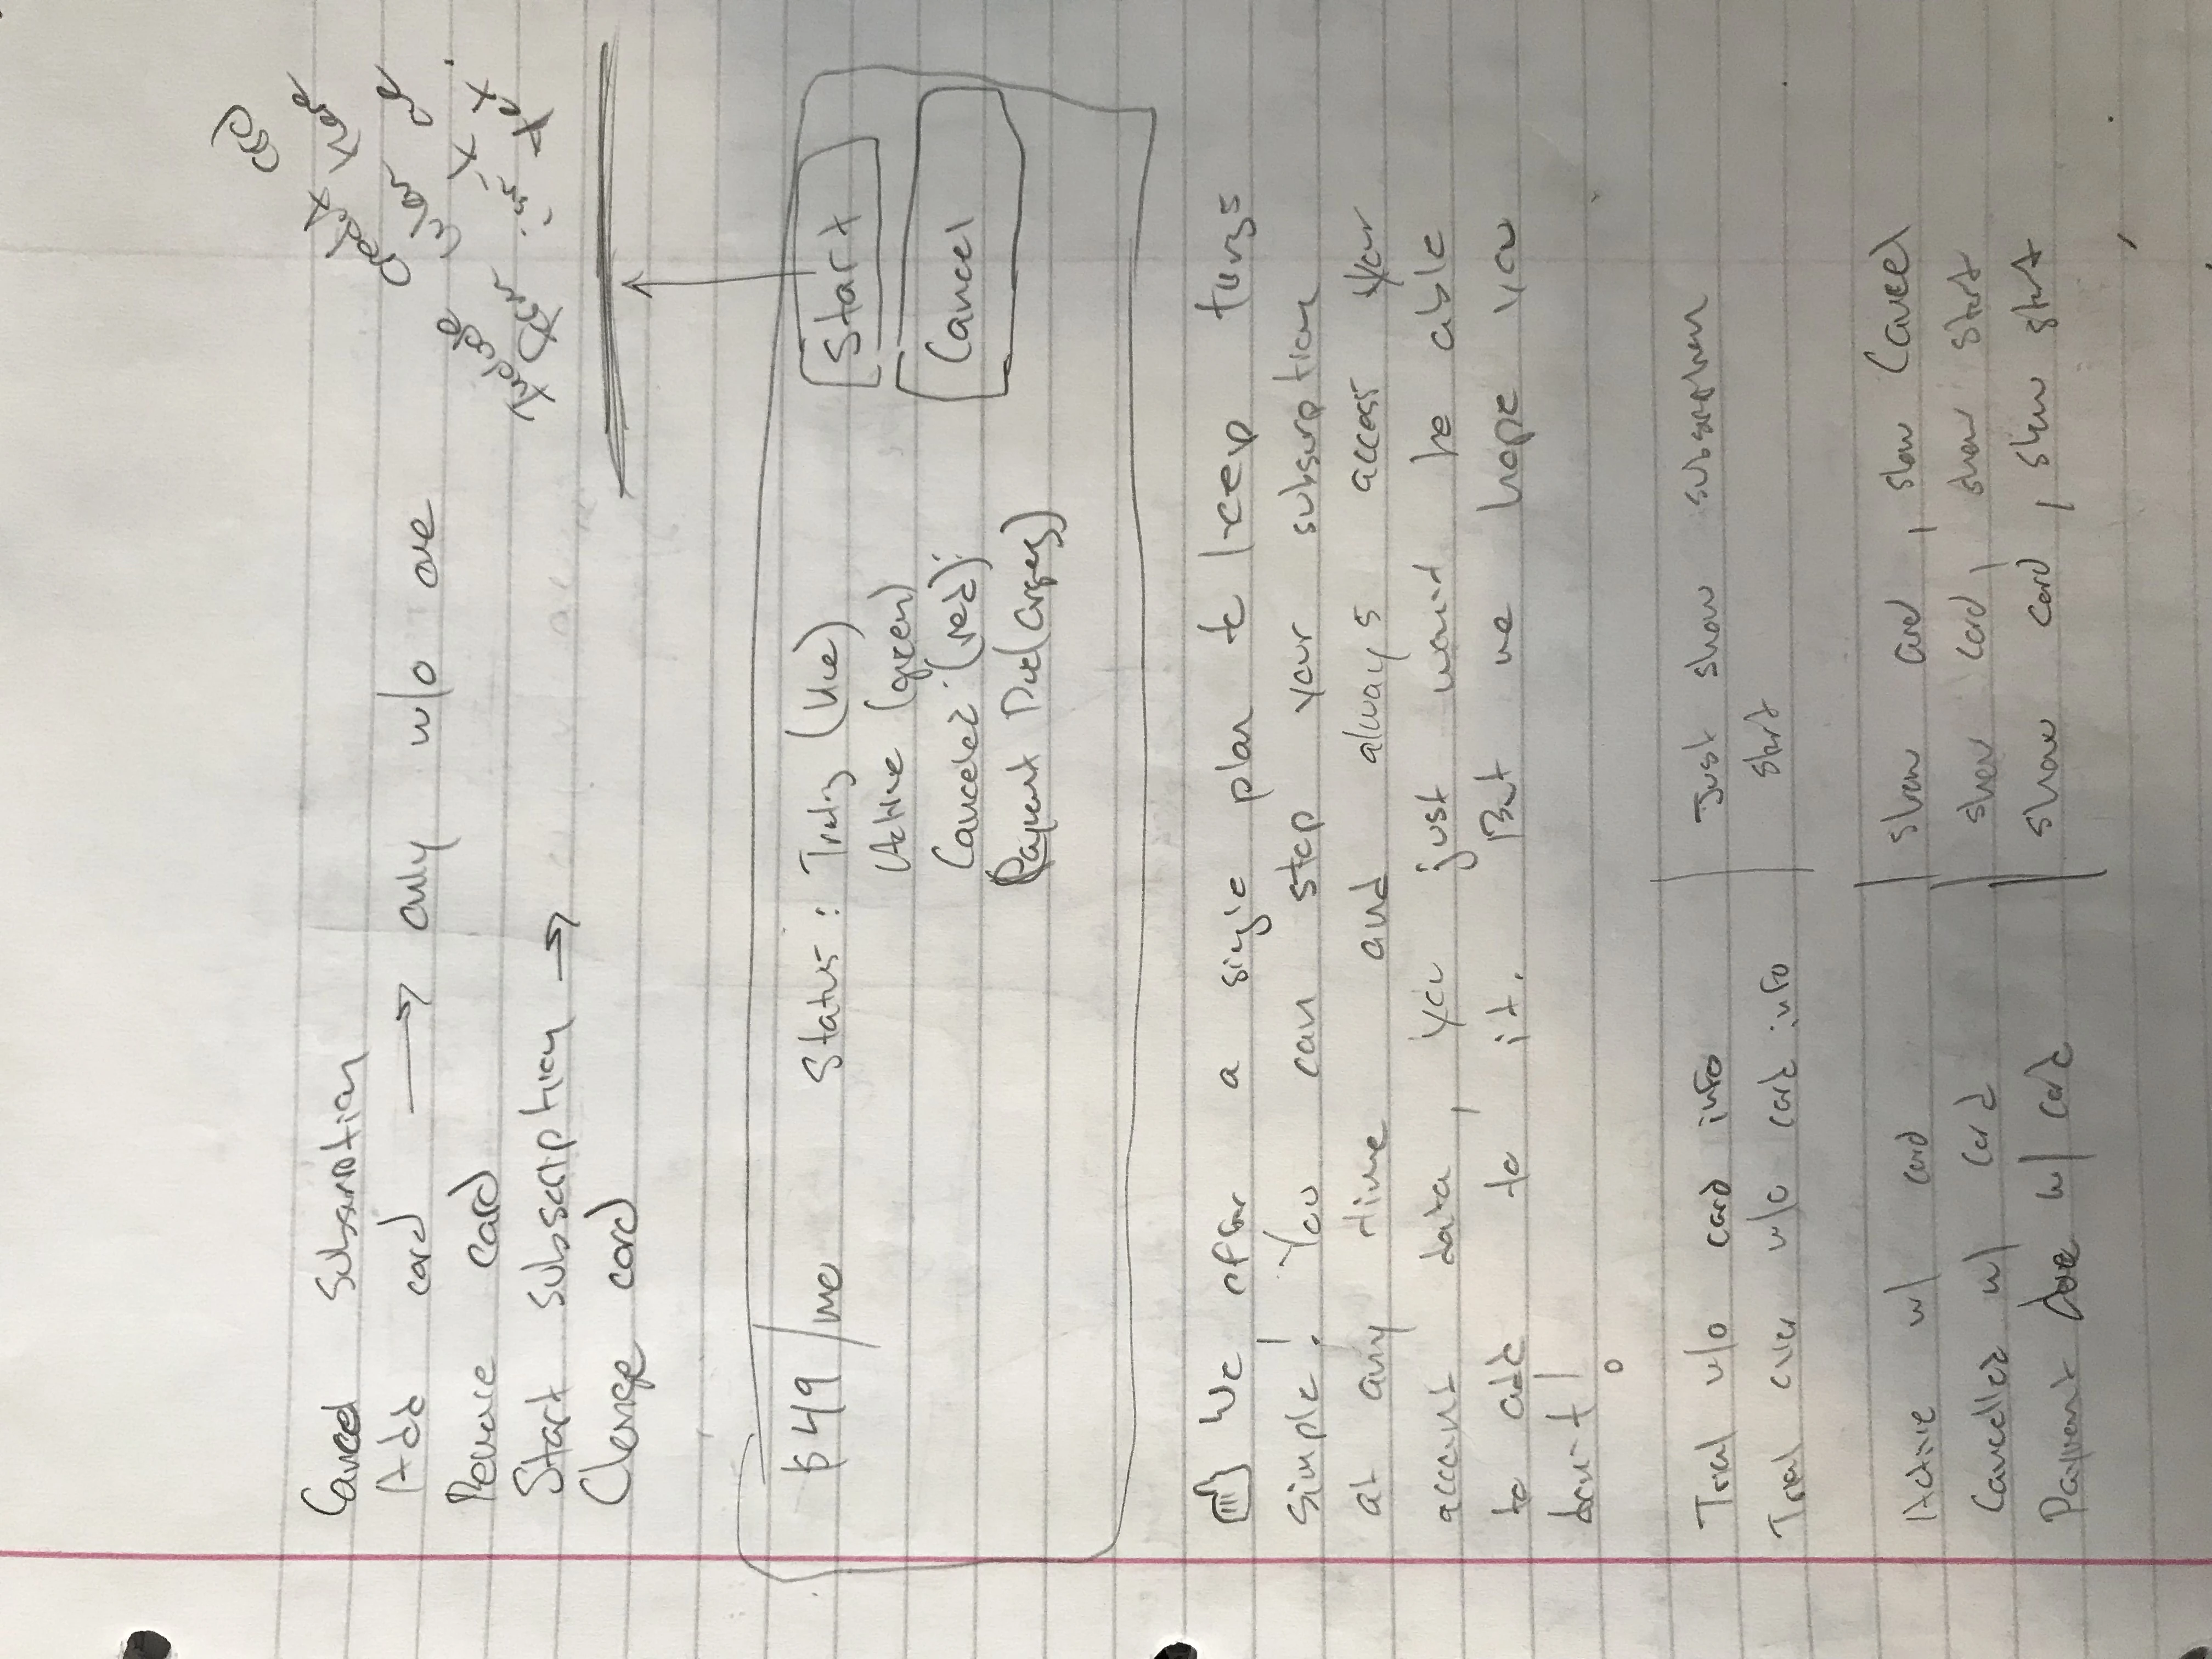
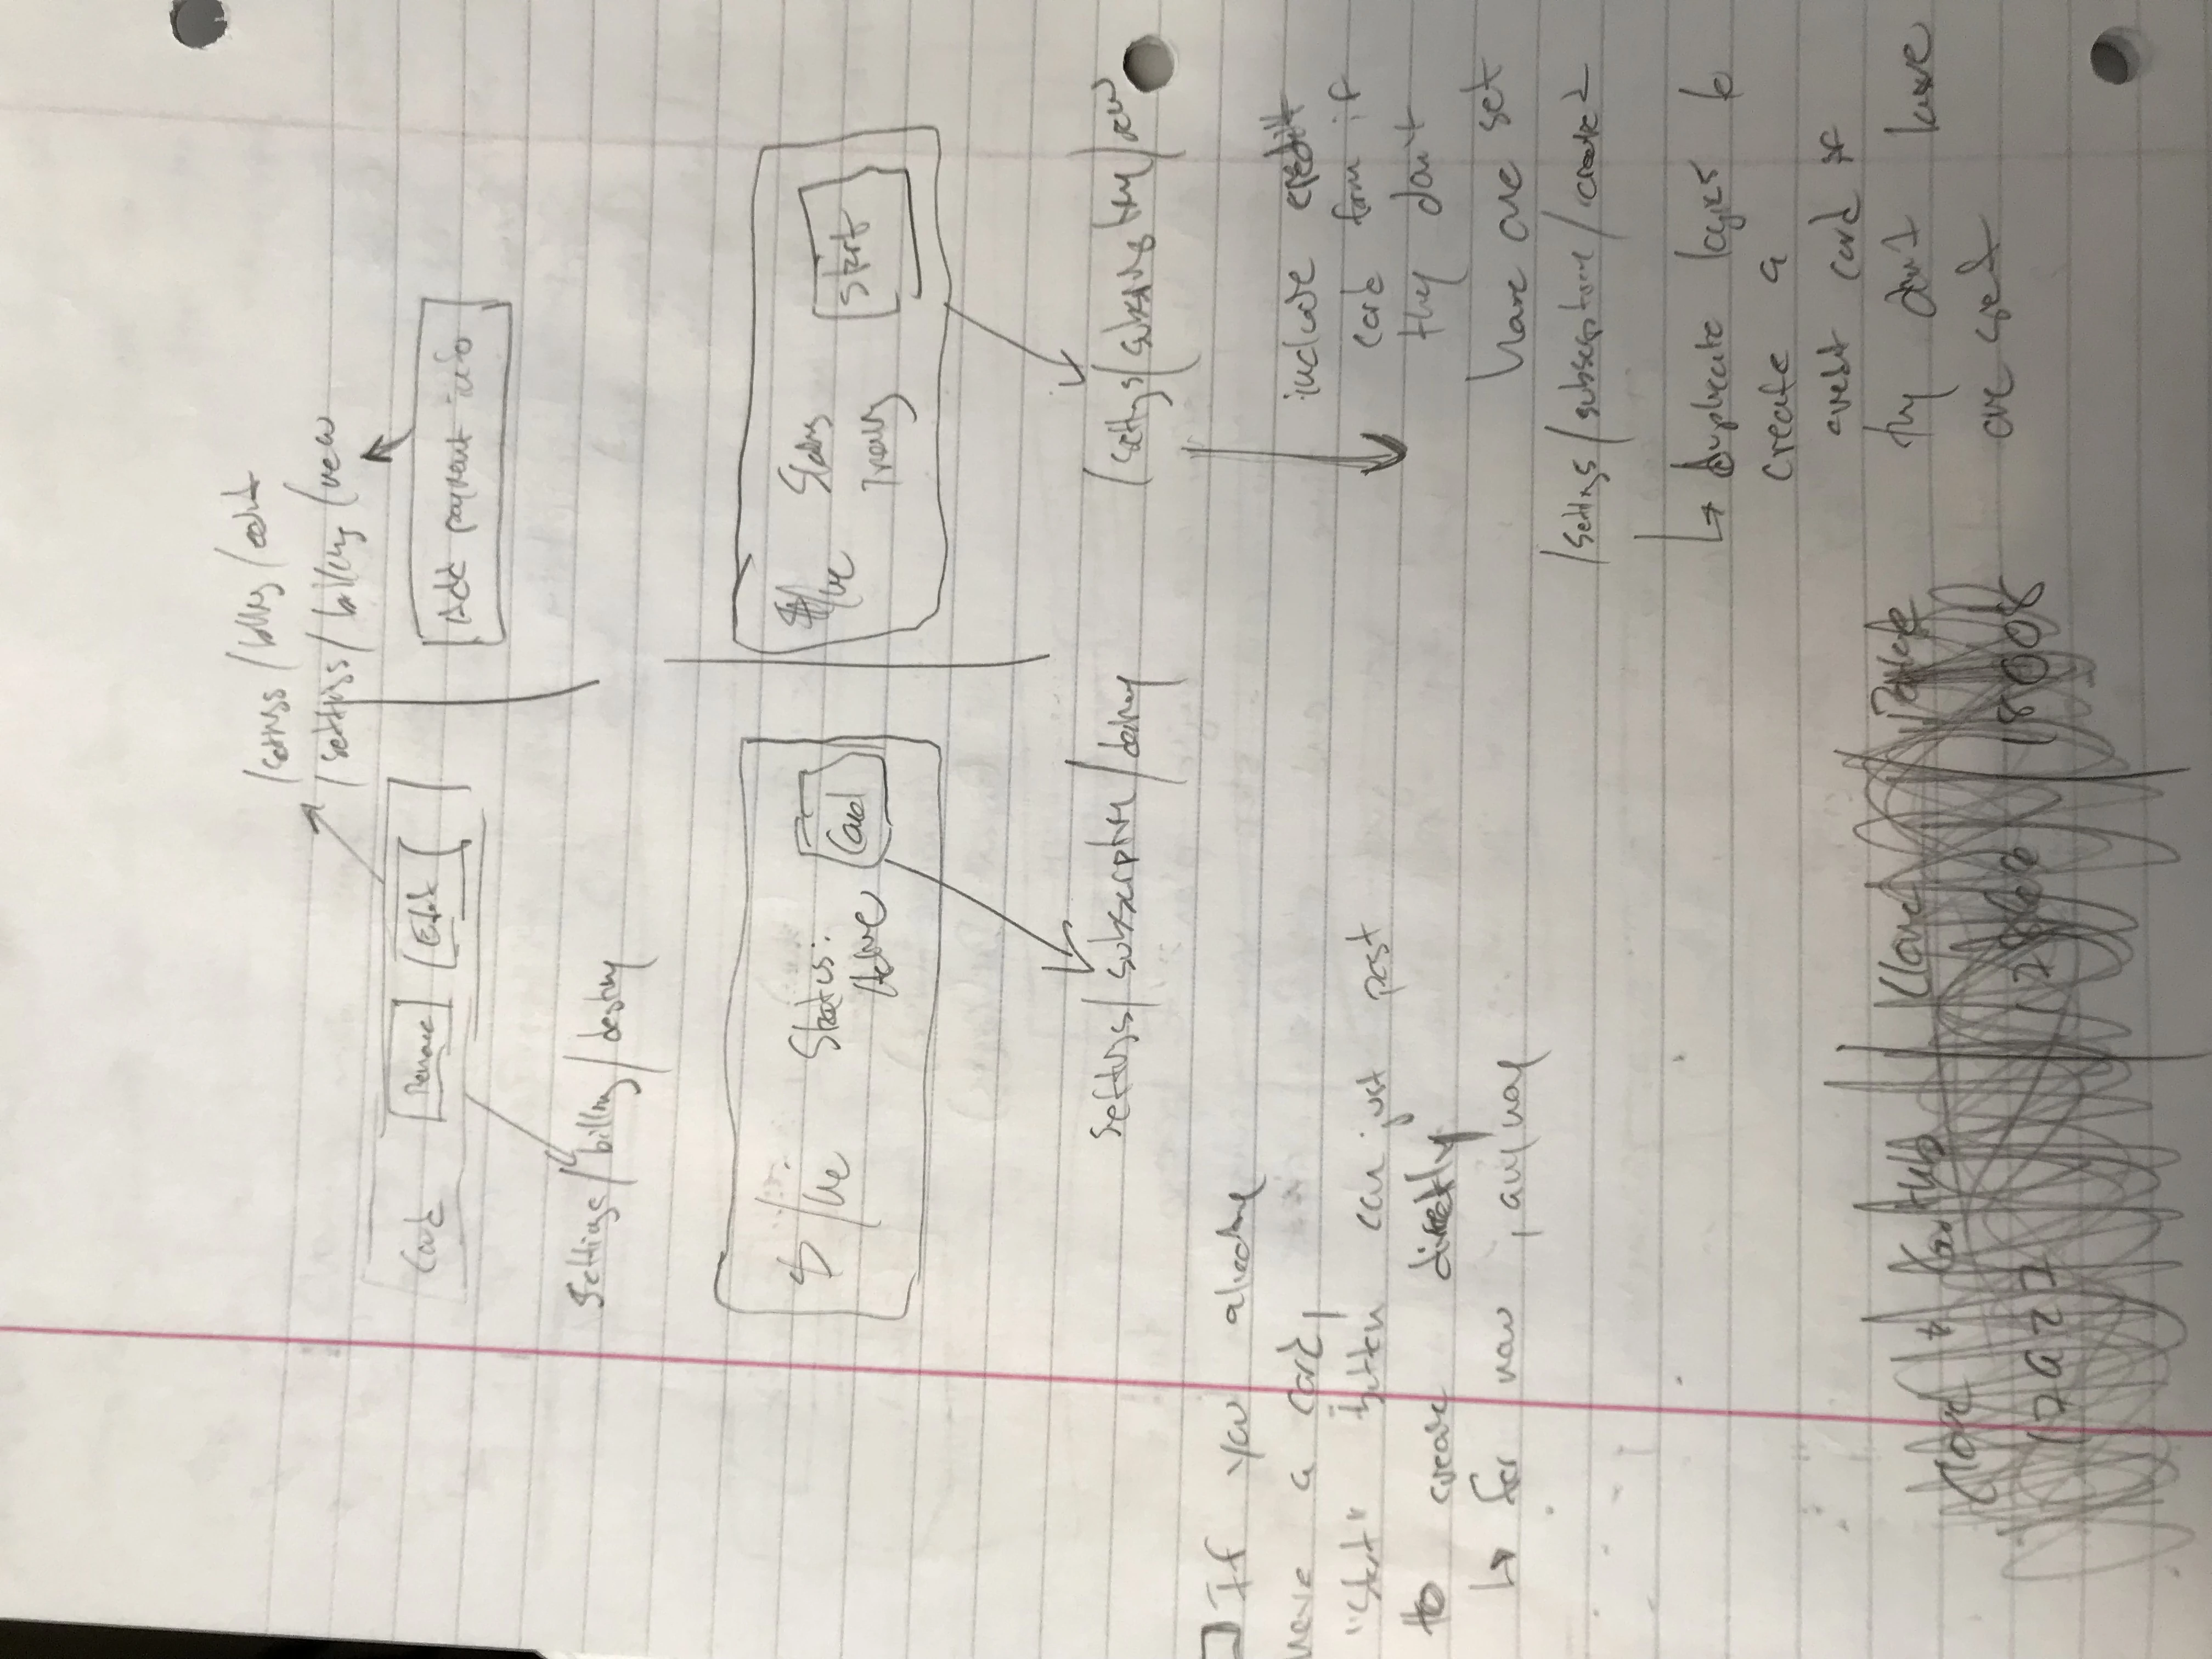
For posterity’s sake, here’s the notes I took trying to figure out how it might work (one, two, three, four). And here’s the finished result:
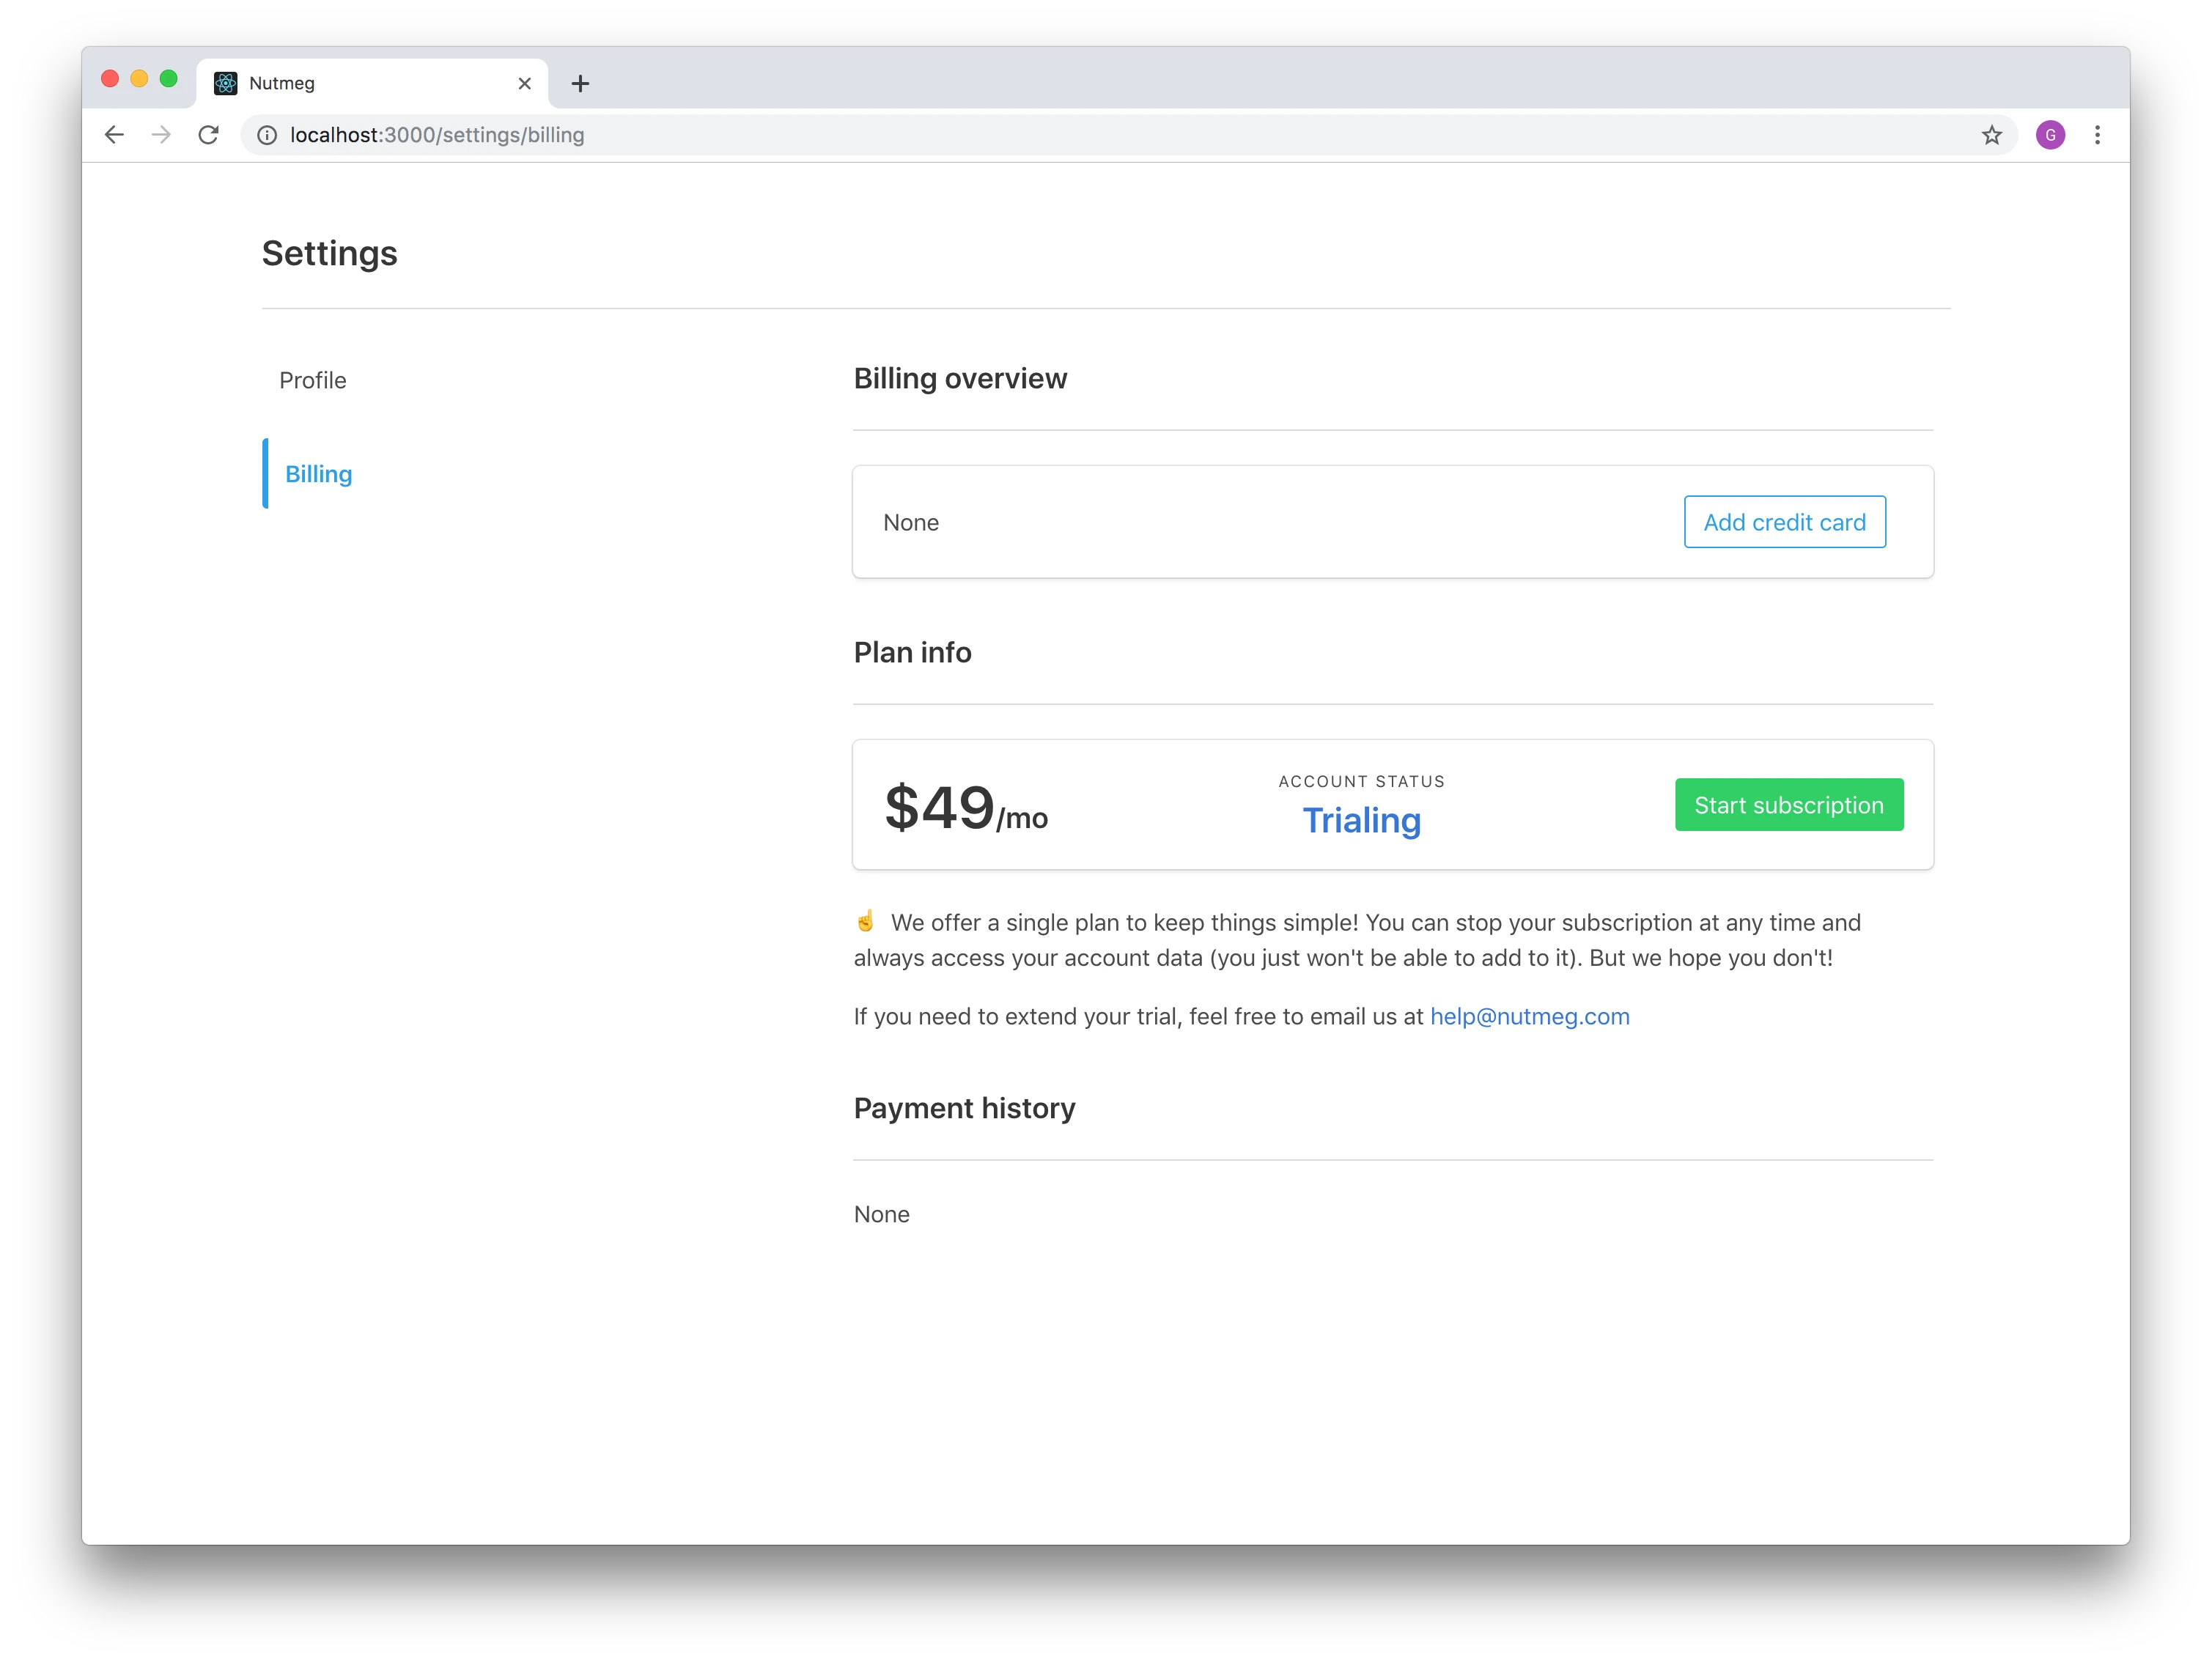
Settings Page: Trialing
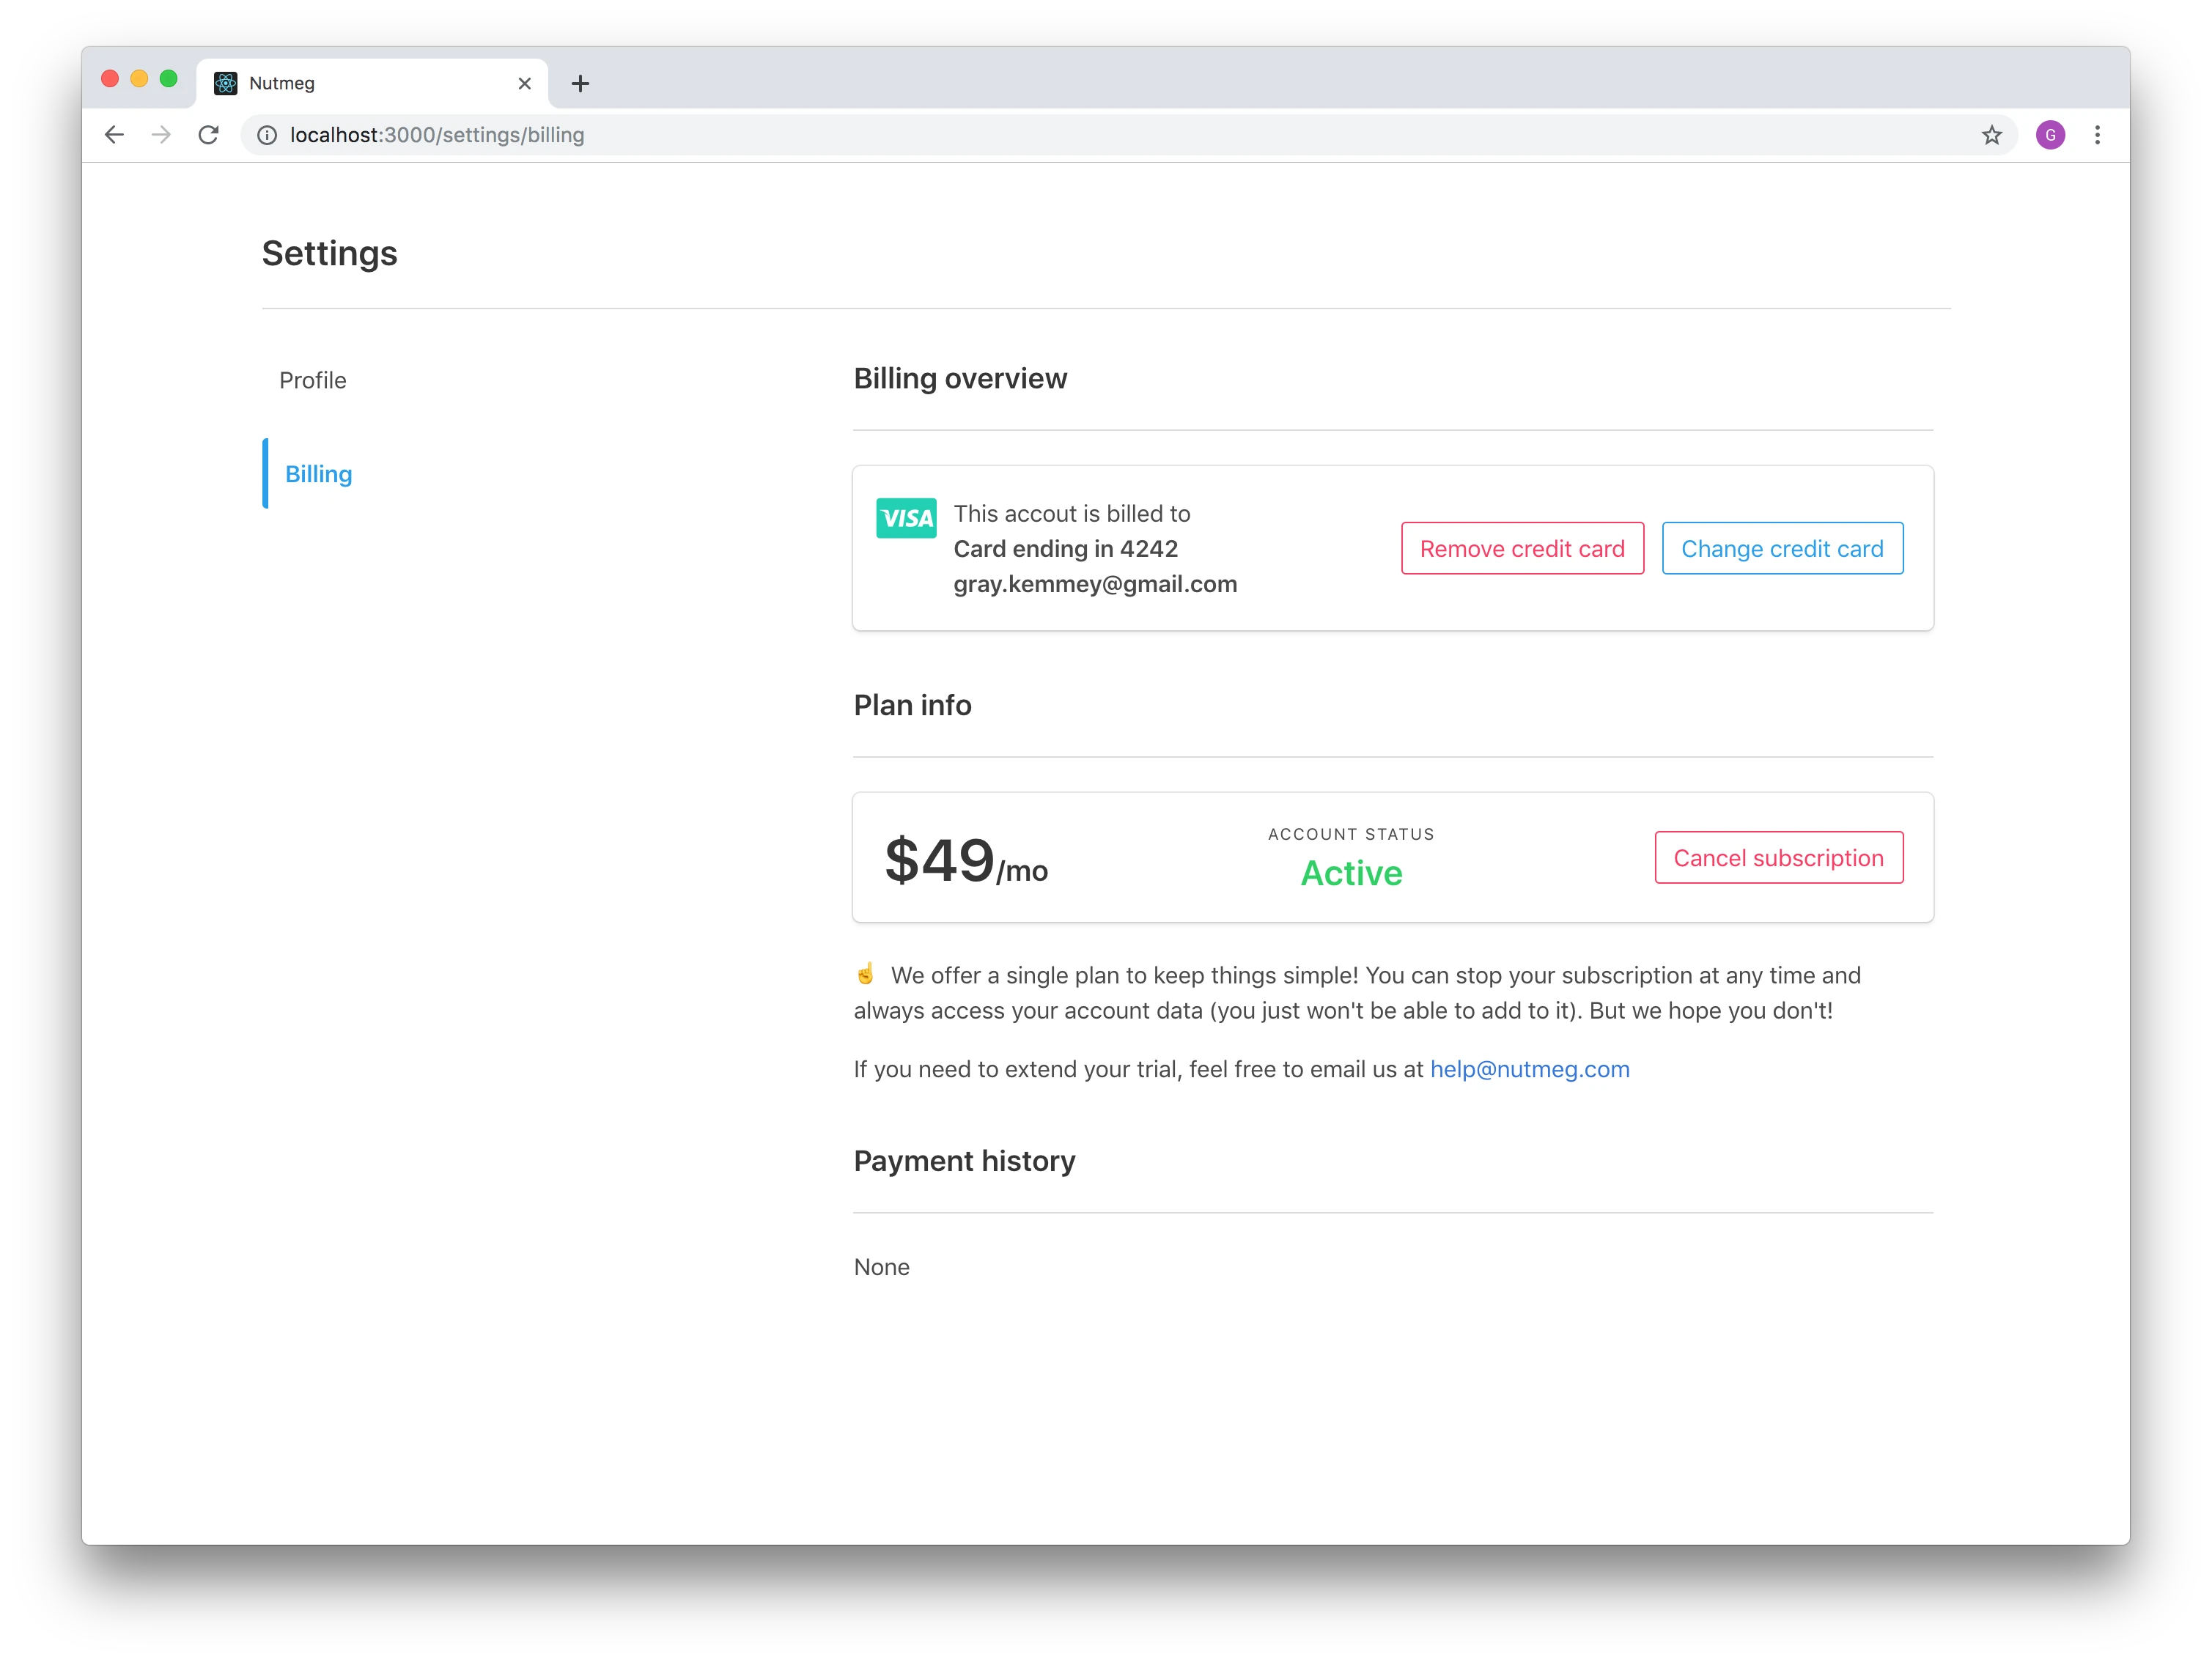
Settings Page: Active
Implementation 👨💻
I extracted all this code nearly as is from Skilltree. There’s some slight changes, like in Skilltree most of the stripe attributes, like stripe_customer_id, live on an account record, and we moved all that to the user for this example.
Also, I called the sample project Nutmeg, so that’s where that reference comes from below. You can see all the code for this example here.
The Nutmeg::Stripe module
If you look through our requirements again, there’s really four Stripe-related actions we need to perform on behalf of our user:
- Subscribe
- Cancel a Subscription
- Add a card
- Remove a card
There’s actually a fifth action we want to be able to take, and that’s sync. I mention it in passing down below when we talk about Stripe events and webhooks, but essentially syncing is just querying Stripe and making sure their customer record matches ours and updating ours if needed. Anyway, it’s included in the code below, because it works the same way as the other four, and if you want to know more about how it’s used I’d encourage you to go look at the repo.
Let’s start there. My guiding star 🌟 when writing code that I don’t know what the final shape should be is to write the code I wished I had. In this case, I know I want to be able to write something like Nutmeg::Stripe.subscribe(user). And that’s exactly what this module is for:
module Nutmeg
  module Stripe
    # ... other stuffs like with_stripe_error_handling left out for now...

    def self.subscribe(user, stripe_token = nil, email = nil)
      with_stripe_error_handling do
        Nutmeg::Stripe::SubscriptionHandler.new(user, stripe_token, email).start
      end
    end

    def self.cancel_subscription(user)
      with_stripe_error_handling do
        Nutmeg::Stripe::SubscriptionHandler.new(user, nil, nil).cancel
      end
    end

    def self.add_card(user, stripe_token, email)
      with_stripe_error_handling do
        Nutmeg::Stripe::CardHandler.new(user, stripe_token, email).add
      end
    end

    def self.remove_card(user)
      with_stripe_error_handling do
        Nutmeg::Stripe::CardHandler.new(user, nil, nil).remove
      end
    end

    def self.sync(user)
      Nutmeg::Stripe::SyncHandler.new(user).sync
    end
  end
end
Each of those action methods is composed of 1) a call to with_stripe_error_handling and 2) a call to an instance of a handler object.
The with_stripe_error_handling method
Eventually, your server’s communication with Stripe’s APIs is going to go through their stripe-ruby gem. Most of the classes in there are model-like, just backed by communication with their API over HTTP. Stripe publishes a host of errors that could arise anytime you’re attempting to communicate with their API. This method handles any of those errors that occur during the provided block. Let’s look:
module Nutmeg
  module Stripe
    def self.with_stripe_error_handling(&block)
      begin
        yield

      # docs: https://stripe.com/docs/api/errors/handling
      rescue ::Stripe::CardError,                   # card declined
             ::Stripe::RateLimitError,              # too many requests made to the api too quickly
             ::Stripe::InvalidRequestError,         # invalid parameters were supplied to Stripe's api
             ::Stripe::AuthenticationError,         # authentication with stripe's api failed
             ::Stripe::APIConnectionError,          # network communication with stripe failed
             ::Stripe::StripeError,                 # generic error
             ::ActiveRecord::ActiveRecordError => e # something broke saving our records

        Response.new(error: e).tap(&:send_through_exception_notfier)
      end
    end

    # ... all those action methods we just looked at ...
  end
end
As you can see, we wrap a call to yield in a begin / rescue which gives us the error handling. If we get an error, we wrap it in an Nutmeg::Stripe::Response object, tell it to send an error notification, and then return it.
If you’re unfamiliar with tap, it’s shorthand in Ruby for code like this:
response = Response.new(error: e)
response.send_through_exception_notfier
return response
The Nutmeg::Stripe::Response object
Right now, Nutmeg::Stripe::Response is really just a wrapper around the error so we can nicely interrogate it in our controllers. We haven’t looked at the handler objects yet, but their public methods also return a Nutmeg::Stripe::Response object. Meaning, an instance of Nutmeg::Stripe::Response is the return from all five of our actions in Nutmeg::Stripe – whether an error occurs or not.
module Nutmeg
  module Stripe
    class Response
      attr_accessor :error

      def initialize(attributes = {})
        attributes.each { |name, value| send("#{name}=", value) }
      end

      def send_through_exception_notfier
        ExceptionNotifier.notify_exception(error)
      end

      # -------- error handling -------

      def ok?
        error.nil?
      end

      def card_error?
        error.is_a?(::Stripe::CardError)
      end

      def rate_limit_error?
        error.is_a?(::Stripe::RateLimitError)
      end

      # ... others just like that ...

      def unknown_error?
        [
          :ok?,
          :card_error?,
          :rate_limit_error?,
          :invalid_request_error?,
          :authentication_error?,
          :api_connection_error?,
          :stripe_error?,
          :active_record_error?
        ].none? { |m| send(m) }
      end
    end
  end
end
If you look in the repo there’s some commented out code (😱) around providing more details about the error. The intent was to provide a consistent api for not just interrogating the type of error, but more specific details about that error, too. Thus far, that didn’t really prove necessary. Along those lines, I was originally thinking you could stick more details about your success in here, too. That’s why the initializer takes more attributes, but I’m not using any but error, hence the lone attr_accessor :error. But I mention it in case you want to capture any additional details about successes or error – this is the place to do it.
Anyway, we’ve already seen where Nutmeg::Stripe::Response#send_through_exception_notfier is used. In case you’re not familiar, exception_notification is a super handy gem that makes it trivially easy to have your Rails app email about errors. That’s what this is doing, notifying us about the error while still handling it so we can present a nicer message to the user.
The rest of those query methods are used in the controllers, which we’ll get to, but lets go look at a handler next!
The Nutmeg::Stripe::CardHandler object
All the handlers follow a similar pattern: an initializer that holds some data they’ll need to do their job, one or more public instance methods that do the work of communicating with Stripe’s API and updating our User record, and a slew of private methods that help them do that work.
Those public instance methods always return an instance of Nutmeg::Stripe::Response.
In the case of our CardHandler object, there’s a public #add method and a public #remove method:
module Nutmeg
  module Stripe
    class CardHandler
      attr_accessor :user, :stripe_token, :email,
                    # stripe objects created by helper methods we then wanna access elsewhere
                    :customer, :card


      def initialize(user, stripe_token = nil, email = nil)
        self.user         = user
        self.customer     = user.stripe_customer
        self.stripe_token = stripe_token
        self.email        = email
      end

      def add
        they_have_no_stripe_customer_data? ? create_stripe_customer_and_card : update_stripe_customer

        user.update!(user_params(for: :add))
        Nutmeg::Stripe::Response.new
      end

      def remove
        customer.sources.retrieve(customer.default_source).delete

        user.update!(user_params(for: :remove))
        Nutmeg::Stripe::Response.new
      end

      private

        def they_have_no_stripe_customer_data?
          user.stripe_customer.nil?
        end

        def create_stripe_customer_and_card
          self.customer = ::Stripe::Customer.create(email: email, source: stripe_token)
          self.card = customer.sources.retrieve(customer.default_source)
        end

        # ... other private methods that help get that work done ...
    end
  end
end
We return Nutmeg::Stripe::Response.new without any arguments – it’s just a response without an error.
Ok, I submit you could read the #add method, and without knowing how to code, you could tell me what it does 😍
If you look, we declare accessors for customer and card. Those are so private helper methods like create_stripe_customer_and_card can do their work, and then capture our newly created Stripe::Customer and Stripe::Card objects so they can be used elsewhere. In this case, we use them both in the #user_params method to access information like customer.email and card.last4. That implementation isn’t shown, but it knows how to take those Stripe records, and persist the information we’re also interested in saving in our database to the user.
Also, notice we don’t have to do any error handling in our handler classes, because we always wrap their usage in that with_stripe_error_handling method.
With that, let’s go look at the controller that leverages this handler.
The Settings::BillingsController
BillingsController is the controller that deals with adding or removing a credit card from the user’s Stripe account. We don’t deal with editing or updating per se, because updating always loads the new form, at which point you submit back to the #create action which both creates a new card and tramples over the old one.
class Settings::BillingsController < ApplicationController
  before_action :validate_email, only: [:create]

  def show
  end

  def new
  end

  def create
    response = Nutmeg::Stripe.add_card(current_user, params[:stripeToken],
                                                     params[:billing][:email])
    if response.ok?
      flash[:success] = "Credit card updated"
      redirect_to settings_billing_path

    elsif response.card_error?
      flash[:danger] = Nutmeg::Stripe.flash_for(:card_declined)
      redirect_to new_settings_billing_path

    elsif response.api_connection_error?
      flash[:warning] = Nutmeg::Stripe.flash_for(:cant_connect_to_stripe)
      redirect_to new_settings_billing_path

    elsif response.active_record_error?
      flash[:warning] = "Something went wrong updating our records, but your card should be updated. " \
                        "This page might not display right, but don't try again. We've pinged our " \
                        "team about it, and hopefully we can get things fixed soon!"
      redirect_to settings_billing_path

    else
      flash[:danger] = Nutmeg::Stripe.flash_for(:unexpected_error)
      redirect_to settings_billing_path
    end
  end

  def destroy
    # ... uses Nutmeg::Stripe.remove_card(current_user) ...
  end

  private

    # ... couple view helper methods that aren't important ...

    def validate_email
      if params[:billing][:email].blank?
        flash[:crib_flash_to_show_email_error_through_redirect] = "Can't be blank"

      elsif !params[:billing][:email].match(/\A[\w+\-.]+@[a-z\d\-.]+\.[a-z]+\z/i)
        flash[:crib_flash_to_show_email_error_through_redirect] = "Invalid format"
      end

      redirect_to new_settings_billing_path if flash[:crib_flash_to_show_email_error_through_redirect].present?
    end
end
Finally, you can see in #create that we use our top-level action helper – Nutmeg::Stripe#add_card. Remember, we’ll get a Nutmeg::Stripe::Response object back no matter what happens in #add_card. The rest of the controller action, just interrogates that response object to figure out 1) where to go next and 2) what message to show the user.
I think that’s an incredibly pleasing setup that communicates what the controller does, without overloading you on details. As you need those details, you can dig deeper.
Nutmeg::Stripe#flash_for is a method we haven’t looked at, but it just gets a flash message from an identifier.
A bit of weirdness is the #validate_email method. We let the user provide an email with their credit card info, which we’ll send billing related notices to. We want to validate that email, but we don’t exactly have a normal model-flow to utilize. I opted instead to check it at the time they post the form, and if it doesn’t look valid we 1) set a flash message we can use to show the issue in the form and 2) redirect back to the form. A fair compromise, I think 🤷♂️
Let’s go look at the form.
The new credit card form
Luckily, this is the only Stripe-enabled form. Starting with a subscription when you don’t have a credit card yet uses this exact same form, it just submits to a different place.
The form is a little lengthy, so instead of copying the whole thing we’ll just look at some pieces of it, but the whole form can be seen here.
First up, here’s how we generate the actual <form> tag:
<%= form_with scope: :billing, url: settings_billing_path,
                                     method: :post,
                                     local: true, # turn off the ujs stuffs, let stripe handle things
                                     data: {
                                       controller: "credit-card-form",
                                       action: "submit->credit-card-form#handleSubmit"
                                     } do |f| %>
We turn the default Rails ajax submit functionality off, so we can handle the submit manually. And to do that we attach a stimulus controller to the form, with an action that’ll run when the form is submitted.
Explaining stimulus is beyond the scope of this post, but essentially, it is a framework for organizing your JavaScript and attaching functionality through data attributes. It’s nothing you couldn’t do yourself with $(document).on, but removes a lot of the boilerplate and enforces some conventions. Plus, it works fantastically with turbolinks.
All you gotta know is when this form is submitted, the handleSubmit function on the stimulus controller will be run.
Our email field is standard Rails stuff, but here’s how we add the error to it from our kinda wonky validation in the controller:
<% if (error = flash[:crib_flash_to_show_email_error_through_redirect]).present? %>
  <p class="help is-danger"><%= error %></p>
<% end %>
Then we have the three stripe fields: number, expiry, and csv. All of them are setup similarly; let’s look at the markup for just the number:
<div class="field">
  <%= label_tag nil, "Card number", for: "card_number", class: "label" %>

  <div class="control">
    <div class="input is-medium" style="display: block; justify-content: normal;"
                                 data-target="credit-card-form.number">
    </div>
  </div>
</div>
The important part is it’s a <div> rather than an actual form element. Additionally, we assign a target to it, which is a stimulus convention that allows us to access this <div> in the stimulus controller. Everything else is just markup that makes things look nice with bulma.
When our stimulus controller takes over (essentially on $(document).ready), we’ll connect Stripe Elements to this <div>. Then stripe will render its iframe that has our input into that <div>. That’s the magic 🔮 that keeps credit card info off our servers while feeling like just another form on our website.
Let’s look at that stimulus controller.
The CreditCardFormController (stimulus)
Again, we’ll just look at some pieces, but the whole thing can be found here.
The #connect function is essentially our $(document).ready hook – this is where we can setup our form after the DOM has loaded.
connect() {
  this.cleanUpErrorsFor("number")
  this.cleanUpErrorsFor("expiry")
  this.cleanUpErrorsFor("cvc")

  // we have to save off any one of our stripe connected elements to pass to `Stripe#createToken`
  // in our submit handler
  this.tokenizableStripeElement = this.connectToStripe('number')
  this.connectToStripe('expiry')
  this.connectToStripe('cvc')
}
Ours is pretty simple, 1) make sure any errors we were displaying are gone and 2) make sure we connect each of those input <divs> to Stripe using Elements.
connectToStripe(target) {
  let type = undefined
  switch (target) {
    case "number":
      type = 'cardNumber'
      break
    case "expiry":
      type = "cardExpiry"
      break
    case "cvc":
      type = "cardCvc"
      break
  }

  let element = this.elements.create(type, { style: this.styles })

  element.mount(this[`${target}Target`])
  element.on('change', this.handleChange(target))

  return element
}
The first half of this function just maps our target names to identifiers Stripe expects. Once we have that, we can create a new Stripe Element. We then tell that new element to mount to our input <div> markup. Stimulus lets us access those with something like this.numberTarget – this just does that dynamically for the target variable. Then we wire up a change handler.
handleChange returns a function closed over target that adds any errors from Stripe – like “invalid credit card number” – to the DOM, and removes any previously added errors if there aren’t any.
The last part of the controller is handleSubmit, which, as we said, runs when the form is submitted.
handleSubmit(event) {
  event.preventDefault()
  event.stopPropagation()

  this.submitTarget.disabled = true
  this.submitTarget.classList.add("is-loading")

  this.stripe.createToken(this.tokenizableStripeElement).
    then((result) => {
      if (result.error) {
        this.handleChange("number")(result)
        this.submitTarget.disabled = false
        this.submitTarget.classList.remove("is-loading")
      }
      else {
        const hiddenInput = document.createElement("input")

        hiddenInput.setAttribute("type", "hidden")
        hiddenInput.setAttribute("name", "stripeToken")
        hiddenInput.setAttribute("value", result.token.id)

        this.element.appendChild(hiddenInput)
        this.element.submit()
      }
    })
}
When we submit the form, this handler takes that tokenizableStripeElement we got from Stripe Elements and asks Stripe to create a token from it. If that process works, we add the token as a hidden input to our form, and submit it. At this point, our form only has two <input> tags (email and token), which it submits to our server. Magic! 🔮
If Stripe can’t make a token, we run the handleChange function to display whatever error occurred under our credit card number input.
The User model
We’ve sort of skipped over it until now, but our User model holds on to the stripe_customer_id so we can associate a User in our system with a customer in Stripe’s.
Additionally, the User holds on to some duped information from Stripe, just so we have access to it without necessarily needing to hit Stripe’s servers: billing_email, card_last_four, card_brand, and card_expires_at.
Also, it provides memoized access from our User model to a Stripe::Customer and their Stripe::Subscription:
class User < ApplicationRecord
  # ... billing status enum and trial_over? method...

  def stripe_customer(reload: false)
    return nil unless stripe_customer_id
    return @stripe_customer if defined?(@stripe_customer) && !reload
    @stripe_customer = nil if reload

    @stripe_customer ||= Stripe::Customer.retrieve(stripe_customer_id)
  end

  def stripe_subscription(reload: false)
    return nil unless stripe_customer(reload: reload)
    return @stripe_subscription if defined?(@stripe_subscription) && !reload
    @stripe_subscription = nil if reload

    @stripe_subscription ||= stripe_customer.subscriptions.data.first
  end
end
Not shown here, there’s a few things related to our app’s specific subscription lifecycle and not necessarily integrating with Stripe, like a billing_status enum.
Intermission 🎭
Ok, that’s all the Stripe integration for our direct interactions with the user – i.e. when they’re interacting with our application, and we’re talking to Stripe on their behalf. But we’ve still gotta look at Stripe event handling, webhooks, and testing 😳
Stripe events and webhooks 👨🏭
Once you have a user attached to a credit card, and enrolled in a subscription to your service, Stripe will continue to do work on your behalf – like every month Stripe will bill them. As it does, it’ll create Stripe events for things like disputed charges or refunds or updates to your customers that happen through Stripe’s dashboard. Webhooks are how your application gets notified of those ongoings.
Through your account dashboard, you can configure Stripe with a webhook, which is just an endpoint on your application that Stripe will send event data to.
The StripeEventsController webhook
For this example, we have all the events we’re monitoring (you tell Stripe which ones your webhook listens to) sent to a single endpoint (you can configure multiple). Let’s look at that controller action:
class StripeEventsController < ApplicationController
  protect_from_forgery except: :create

  def create
    begin
      their_event_record = Stripe::Webhook.construct_event request.body.read,
                                                           request.env['HTTP_STRIPE_SIGNATURE'],
                                                           Stripe.webhook_secret

    rescue JSON::ParserError, Stripe::SignatureVerificationError => e
      ExceptionNotifier.notify_exception(e)
      head 400
      return
    end

    # the only anticipated way this fails is if it's not unique, in which case we have nothing to
    # do because we've already processed it. we're essentially using our StripeEvent model as
    # a record of processed events
    #
    stripe_event = StripeEvent.new(stripe_id: their_event_record.id, stripe_type: their_event_record.type)
    if stripe_event.save
      self.send(handler_for(their_event_record), stripe_event)
    end

    head 200
  end

  private

    def handler_for(their_event_record)
      "handle_#{their_event_record.type.gsub('.', '_')}".to_sym
    end

    # -------- charges --------

    def handle_charge_refunded(stripe_event) # implemented_by_pay
      Nutmeg::Stripe::Webhooks::ChargeRefundedJob.perform_later(stripe_event)
    end

    # https://stripe.com/docs/api/events/types#event_types-charge.succeeded
    def handle_charge_succeeded(stripe_event) # implemented_by_pay
      Nutmeg::Stripe::Webhooks::ChargeSucceededJob.perform_later(stripe_event)
    end

    # ... eight more handle_stripe_event type methods ...
end
When an event like charge.refunded occurs, Stripe will post some JSON data to this controller. The first thing we do is use the stripe-ruby Stripe::Webhook class to build a Stripe::Event object from the contents of the body and validate its signature. You can configure that webhook_secret in the Stripe dashboard when you setup the webhook, and this ensures we know it’s Stripe talking to us.
If we can’t parse that JSON data (unlikely), we send us an email and return a 400. Otherwise, we save a new StripeEvent record to our database. We have a unique validation on StripeEvent#stripe_id, so if we can’t save this new record, we assume we’ve already handled it. If we haven’t handled it, stripe_event.save returns true and we call one of our private handler methods.
The controller’s private handler methods are named after the type of stripe event, so handler_for is a method that can resolve a Stripe::Event to a private handler method.
All of the handler methods take our newly created StripeEvent object and punt to a background job. We don’t want to do any more work than we have to here so we can stay as responsive as possible to Stripe.
Ok, before we look at those handlers, let’s take a quick look at the StripeEvent model.
The StripeEvent model (not to be confused with Stripe::Event from stripe-ruby)
First, Stripe says it’s possible they’ll send you the same event more than once, but using our unique validation on stripe_id, this table lets us essentially keep a record of already handled events. That way we don’t process one twice.
Second, this class provides a slightly nicer API around the Stripe::Event object. All Stripe::Event records respond to .data.object. Depending upon the type of event, the type of object returned from that chain of method calls will be different. For example, if it’s a charge.refunded event, .data.object returns a Stripe::Charge object; if it’s a customer.subscription.trial_will_end event, .data.object returns a Stripe::Subscription object.
So to make this a little nicer to work with, we first memoize access to the underlying event object:
def stripe_event_object(reload: false)
  @stripe_event_object = nil if reload

  @stripe_event_object ||= begin
    stripe_event = Stripe::Event.retrieve(stripe_id)
    stripe_event.data.object
  end
end
Then we alias that method with a set of more descriptive accessors we can use depending upon the type of event we know we’re handling. For instance, in the PaymentsMailer.notify_of_charge_refunded method, we can use StripeEvent#charge:
alias card         stripe_event_object
alias charge       stripe_event_object
alias customer     stripe_event_object
alias dispute      stripe_event_object
alias invoice      stripe_event_object
alias subscription stripe_event_object
Lastly, we define a StripeEvent#user method that can correctly determine how to find the user for which this event belongs, based on the type of the stripe_event_object:
def user
  case stripe_event_object
    when Stripe::Card
      User.find_by(stripe_customer_id: card.customer)

    when Stripe::Charge
      User.find_by(stripe_customer_id: charge.customer)

    when Stripe::Customer
      User.find_by(stripe_customer_id: customer.id)

    when Stripe::Dispute
      User.find_by(stripe_customer_id: Stripe::Charge.retrieve(dispute.charge).customer)

    when Stripe::Invoice
      User.find_by(stripe_customer_id: invoice.customer)

    when Stripe::Subscription
      User.find_by(stripe_customer_id: subscription.customer)

    else
      raise "Don't know how to resolve user from #{stripe_event_object.class}"
  end
end
The Stripe event jobs
If you look back at the StripeEventsController, all of our private handler methods simply punted to a job. All of these jobs, either
- send an email
- update the user, or
- use that
Nutmeg::Stripe.syncmethod (which updates our user record with the information Stripe has)
Let’s take a look at an example of one of those jobs that sends an email:
class Nutmeg::Stripe::Webhooks::InvoiceUpcomingJob < ApplicationJob
  queue_as :default

  def perform(stripe_event)
    PaymentsMailer.notify_of_invoice_upcoming(stripe_event).deliver_later
  end
end
The Stripe event mailers
The notify_of_charge_refunded action:
def notify_of_charge_refunded(stripe_event)
  @charge  = stripe_event.charge
  @user = stripe_event.user

  mail(to: @user.billing_email, subject: '[Nutmeg] Payment Refunded')
end
And the view:
<h2>Thanks for using Nutmeg!</h2>

<p>We've processed your refund (details below). If you have any questions, just reply to this email.</p>

<h3 style="margin-bottom: 15px;">Payment information</h3>
<p>
  <b>Date:</b> <%= Time.at(@charge.created).utc.strftime("%Y-%m-%d")  %>
  <br />
  <b>Amount:</b> <%= ActionController::Base.helpers.number_to_currency(@charge.amount / 100.0) %>
  <br />
  <b>ID:</b> <%= @charge.id %>
</p>
Here, you can see the StripeEvent#charge and the StripeEvent#user methods we took the time to setup finally coming into play. Other than that, pretty typical Rails mailer stuffs.
Intermission 🎭
That’s both halves of our integration. We have a strategy for interacting directly with the user and communicating with Stripe on their behalf, and we have a webhook setup for handling all of the actions Stripe takes for us behind the scenes.
All that’s missing now are some tests.
Testing 👨🔬
This might be the hardest part, because Stripe doesn’t really offer us much guidance. We know we shouldn’t be hitting their servers in our tests, but what should we do instead? We could mock or stub all of our interactions with classes provided by stripe-ruby, but that’s a lot of mocking and stubbing – too much in my opinion. That will make our tests too brittle.
Instead, I opted to use stripe-ruby-mock. It does a few different things, but at its core, it’s a reverse-engineered implementation of the Stripe API. Anytime we use one of the stripe-ruby classes, instead of hitting Stripe’s servers, they will instead hit this mock API.
Is this still brittle? Yeah, a little bit. Our tests are certainly dependent on this third-party implementation of Stripe’s API, but we didn’t have to add a bunch of code to our tests specifically for mocking and stubbing.
The TestHelpers::StripeMocking mixin
This is our integration point with stripe-ruby-mock. Any test that need the mock Stripe API can include this mixin. Let’s take a look:
module TestHelpers
  module StripeMocking
    def self.included(base)
      base.attr_accessor(:stripe_helper, :default_mocked_customer_id, :default_plan_id)

      base.setup do
        StripeMock.start
        StripeMock.toggle_debug(true) if ENV.fetch("STRIPE_DEBUG") { false }

        self.stripe_helper = StripeMock.create_test_helper
        self.default_mocked_customer_id = 'cus_00000000000000'
        self.default_plan_id = stripe_helper.create_plan(id: Nutmeg::Stripe.plan_id, amount: 4900).id
      end

      base.teardown do
        StripeMock.stop
      end
    end
  end
end
When this is included, we add a setup step primarily responsible for starting the mock server, and a teardown step primarily responsible for stopping the mock server. Additionally, the setup step gives us a way to run in debug mode, and initializes a stripe_helper (an object that exposes some convenience methods like create_plan), default_mocked_customer_id, and default_plan_id instance variables we can use throughout our tests.
Monkey patching stripe-ruby-mock 🙈
For my own purposes, I’ve added two monkey patches as well. You can see those here and here.
The first patches the mock API server so we can call Stripe::Subscription.update(subscription.id, force_status_using_our_monkey_patch: "unpaid") to force a subscription the mock API server is keeping track of into a specific status.
The second, patches the stripe_helper with an error_for method that just makes it easier to construct the first argument to StripeMock.prepare_error when building custom errors.
A User model test
Perhaps the simplest test we could write is just a model test. It at least has the fewest moving parts. Let’s look at an example for the User#stripe_customer method:
require 'test_helper'

class UserTest < ActiveSupport::TestCase
  include TestHelpers::StripeMocking

  def test_can_fetch_and_reload_customer
    mal = users(:mal)
    assert_nil mal.stripe_customer

    customer_one = Stripe::Customer.create
    users(:mal).update!(stripe_customer_id: customer_one.id)

    assert_equal customer_one.id, mal.stripe_customer.id

    customer_two = Stripe::Customer.create
    users(:mal).update!(stripe_customer_id: customer_two.id)

    assert_equal customer_one.id, mal.stripe_customer.id, "Expected it to be memoized"
    assert_equal customer_two.id, mal.stripe_customer(reload: true).id
  end

  # ... other similar tests for stripe_subscription and stripe_payments ...
end
After including the mixin, which we mentioned sets our tests up to use the stripe-ruby-mock stuffs, we define a test case for fetching and reloading a Stripe customer.
First, we pull out the mal user, and make sure stripe_customer initially returns nil. Then we create a Stripe::Customer and associate it with our mal user. At this point, we’re communicating with the mock Stripe API provided to us by stripe-ruby-mock. Next we check that calling stripe_customer on mal returns the Stripe::Customer we just created. Then we create a second Stripe::Customer which we can use to check 1) that our memoization works and 2) that we can reload the memoized value by passing reload: true to the stripe_customer method.
One nice thing about this test is it flows like other tests – we create some data, update an existing user record, and assert that mal behaves the way we expect him to. Sure, we could accomplish similar by stubbing Stripe::Customer.retrieve to return a stub that responds to id, but then we’re more testing the code is written the way we expect. Think about it this way, we’d write this test the exact same way if we were actually hitting Stripe’s servers!
A handler test
We have a handler test for each of our three handlers: Nutmeg::Stripe::CardHandler, Nutmeg::Stripe::SubscriptionHandler and Nutmeg::Stripe::SyncHandler. They work largely like a model test, they just involve a few more pieces. In these tests, we’re creating some initial data (whether Stripe data or our own), calling one of the handler actions (like Nutmeg::Stripe::CardHandler#add), and asserting the side affects are what we’d expect them to be.
Here’s an example:
require 'test_helper'

class Nutmeg::Stripe::CardHandlerTest < ActiveSupport::TestCase
  include TestHelpers::StripeMocking

  def test_can_add_a_card_to_an_existing_customer
    email = 'mal@serenity.com'
    token = stripe_helper.generate_card_token brand: 'Visa', last4: '4242', exp_year: 2001

    customer = Stripe::Customer.create(email: email)
    users(:mal).update! stripe_customer_id: customer.id,
                        billing_email:      customer.email

    Nutmeg::Stripe::CardHandler.new(users(:mal), token, email).add

    users(:mal).tap do |mal|
      assert_equal customer.id, mal.stripe_customer(reload: true).id

      assert_not_nil mal.stripe_customer.default_source

      assert_equal email,  mal.billing_email
      assert_equal '4242', mal.card_last_four
      assert_equal 'Visa', mal.card_brand
      assert_equal 2001,   mal.card_expires_at.year
    end
  end

  # ... other tests ...
end
First, we use that stripe_helper instance given to us by stripe-ruby-mock to generate a Stripe token, create a Stripe::Customer, and update mal to be associated with that customer. Then we tell our handler to add the card – exactly like the Nutmeg::Stripe.add_card method would that we use in our controller. Lastly, we just verify that mal was changed in all the ways we’d expect after having his card updated.
A controller test
If a model test is our simplest, baseline test, and a handler test is a level past that, a controller test is the next level up. Here’s the controller test for adding a card – essentially the same scenario we just looked at in our example handler test:
require 'test_helper'

class Settings::BillingsControllerTest < ActionDispatch::IntegrationTest
  include TestHelpers::StripeMocking

  def setup
    @user = users(:mal)
  end

  def test_can_add_a_card_to_the_user
    login_as(@user)

    token = stripe_helper.generate_card_token brand: 'Visa', last4: '4242', exp_year: 2001

    post settings_billing_path, params: { stripeToken: token, billing: { email: 'mal@serenity.com' } }

    @user.reload.yield_self do |mal|
      assert_not_nil mal.stripe_customer_id

      assert_equal 'mal@serenity.com', mal.billing_email
      assert_equal '4242',             mal.card_last_four
      assert_equal 'Visa',             mal.card_brand
      assert_equal 2001,               mal.card_expires_at.year
    end

    assert_equal "Credit card updated", flash[:success]
  end

  # ... other tests
end
This time, we generate the Stripe token, and instead of passing it one of our handler classes, we post it to our BillingsController#create action – exactly as the form would if the user had been interacting with our app. Then it’s just a matter of verifying our user went through the same series of changes.
Let’s look at one more example controller test. Here’s how we can test what our app does when a card has an issue on Stripe’s end, like for example, if a card gets declined:
# still in Settings::BillingsControllerTest

def test_catches_card_error_when_adding_a_card_to_the_user
  login_as(@user)

  token = stripe_helper.generate_card_token brand: 'Visa', last4: '4242', exp_year: 2001
  StripeMock.prepare_error(stripe_helper.error_for(:card_declined), :new_customer)

  post settings_billing_path, params: { stripeToken: token, billing: { email: 'mal@serenity.com' } }

  assert_nil @user.reload.stripe_customer_id
  assert_not_nil flash[:danger]
  assert_equal Nutmeg::Stripe.flash_for(:card_declined), flash[:danger]
end
The only difference in the setup between this test and the last one, is the call to StirpeMock.prepare_error. This tells the mock API server that we’d like our attempt to create a new customer with a new card to generate an error as if the card was declined. From there, we can verify that a stripe_customer_id isn’t saved on the user record, and that the view shows the flash message we’d expect.
By extension, this also tests that our with_stripe_error_handling method does what we’d expect, and that our Nutmeg::Stripe::Response class can be properly interrogated for the cause of the error. Again, without us needing to stub out any of the details of the actual code.
A system test
At this point, the only part of our integration we haven’t really been able to test is the JavaScript we wrote to properly initialize and submit our Stripe form. That’s a fairly considerable amount of code!
To test it, we’ll write a test that simulates a user interacting with our app through an actual browser – a system test.
require "application_system_test_case"

class StripeFormsTest < ApplicationSystemTestCase
  def setup
    @mal = users(:mal)
  end

  def test_the_new_card_form_works
    top_level_stub_called = false
    Nutmeg::Stripe.stub(:add_card, ->(account, token, email) {
                                     top_level_stub_called = true
                                     assert_not_nil token
                                     assert_equal email, 'mal@serenity.com'
                                     OpenStruct.new(ok?: true)
                                   }) do
      login_as(@mal)
      visit new_settings_billing_path

      wait_for_stripe_to_mount

      in_iframe_for(:card_number) do
        fill_in("cardnumber", with: "4242")
      end

      assert_equal "Your card number is incomplete.", error_for(:card_number)

      in_iframe_for(:card_number) do
        # slow down inputting so stripe can keep up
        3.times { [4, 2, 4, 2].each { |n| find("input").native.send_keys(n) } }
      end

      assert no_error_for(:card_number)

      # ... a similar pattern of for expiry and cvs ...

      fill_in :billing_email, with: 'mal@serenity.com'

      click_button "Save"

      assert page.has_content?("Credit card updated") # successful flash message
      assert top_level_stub_called
    end
  end

  private

    def wait_for_stripe_to_mount
      assert page.has_css?(".__PrivateStripeElement")
    end

    def in_iframe_for(input, &block)
      current_window = page.driver.current_window_handle
      selector = case input
                   when :card_number
                     '[data-target="credit-card-form.number"]'
                   when :card_expiry
                     '[data-target="credit-card-form.expiry"]'
                   when :card_cvc
                     '[data-target="credit-card-form.cvc"]'
                 end

      page.driver.switch_to_frame(find(selector).find("iframe"))
      yield

    ensure
      page.driver.switch_to_window(current_window)
      blur
    end

    def error_for(input)
      selector = case input
                   when :card_number
                     '[data-target="credit-card-form.number"]'
                   when :card_expiry
                     '[data-target="credit-card-form.expiry"]'
                   when :card_cvc
                     '[data-target="credit-card-form.cvc"]'
                 end

      # parent element      👇
      find(selector).first(:xpath,".//..", visible: false).find("p").text
    end

    def no_error_for(input)
      selector = case input
                   when :card_number
                     '[data-target="credit-card-form.number"]'
                   when :card_expiry
                     '[data-target="credit-card-form.expiry"]'
                   when :card_cvc
                     '[data-target="credit-card-form.cvc"]'
                 end

      # parent element      👇
      find(selector).first(:xpath,".//..", visible: false).has_no_css?("p")
    end
end
Ok, there’s a lot here, but I think it’s useful to first see it all together. Now, let’s take it in pieces.
Unfortunately, we do is finally have to write a stub of our own. When we submit the form, it’ll be handled by the Settings::BillingsController#create action, and we know the main thing that action will do is punt to Nutmeg::Stripe.add_card. So that’s where we stub. I think this is fair, because here we’re no longer concerned with our server’s Stripe integration – we’ve tested that elsewhere – we’re mostly concerned with testing how our form behaves on the client. Here’s that stub:
top_level_stub_called = false
Nutmeg::Stripe.stub(:add_card, ->(account, token, email) {
                                 top_level_stub_called = true
                                 assert_not_nil token
                                 assert_equal email, 'mal@serenity.com'
                                 OpenStruct.new(ok?: true)
                               }) do
  # ... all the rest of the test ...
end
When Nutmeg::Stripe.add_card is called inside the block, the lambda we provided will be called instead. Before declaring the stub, we set a top_level_stub_called boolean to false. When the lambda is called, we immediately flip it to true, then we can assert that it’s true at the end of the test. Perhaps this is overkill, but it gives us some assurance the test is behaving the way we expect 🤷♂️
Other than that, inside the lambda we assert that the parameters we were passed – which are what would have come from the form and ultimately get passed to Nutmeg::Stripe.add_card – are what we expect them to be. Lastly, it returns an object that responds to ok? and returns true, which is a stub for an instance of Nutmeg::Stripe::Response.
Next, let’s jump to the bottom. At the very end of the test file, we have some private helper functions. Mostly, they help us find elements on the page in a way that reads nicely in the actual body of the test – like a mini DSL for just this test. Let’s look at the in_iframe_for helper a little closer though:
def in_iframe_for(input, &block)
  current_window = page.driver.current_window_handle
  selector = case input
               when :card_number
                 '[data-target="credit-card-form.number"]'
               when :card_expiry
                 '[data-target="credit-card-form.expiry"]'
               when :card_cvc
                 '[data-target="credit-card-form.cvc"]'
             end

  page.driver.switch_to_frame(find(selector).find("iframe"))
  yield

ensure
  page.driver.switch_to_window(current_window)
  blur
end
This is critical to making these tests work. Because Stripe Elements keeps all of our actual credit card related inputs in an <iframe>, we have to tell Selenium (the software that lets us programmatically interact with the browser) about those <iframes>. Let’s look at the usage of this method:
in_iframe_for(:card_number) do
  fill_in("cardnumber", with: "4242")
end
Ok, so we pass it an identifier for the input whose <iframe> we’d like to switch to, and then a block for what we’d like to do while switched to that <iframe>. The in_iframe_for method first saves off a reference to our current_window, then, using the identifier we provided, it determines a selector that will find the <iframe>, and it tells Selenium to switch to that <iframe>. Once switched, it executes the block. Lastly, it ensures that once we’re done executing the block, we switch back to the current_window we saved off originally.
Kinda gnarly, but essential for testing our Stripe form 😬
Ok with that, we can understand the actual meat of the test:
login_as(@mal)
visit new_settings_billing_path

wait_for_stripe_to_mount

in_iframe_for(:card_number) do
  fill_in("cardnumber", with: "4242")
end

assert_equal "Your card number is incomplete.", error_for(:card_number)

in_iframe_for(:card_number) do
  # slow down inputting so stripe can keep up
  3.times { [4, 2, 4, 2].each { |n| find("input").native.send_keys(n) } }
end

assert no_error_for(:card_number)

# ... a similar pattern of for expiry and cvs ...

fill_in :billing_email, with: 'mal@serenity.com'

click_button "Save"

assert page.has_content?("Credit card updated") # successful flash message
assert top_level_stub_called
Hopefully, that reads a lot like English 😍 Most of the test just deals with filling in the various Stripe inputs.
For the card number input, you can see the first thing we do is fill it with just 4242. After that, we can verify that an error message saying 4242 is an incomplete card number is displayed. This is testing the JavaScript side of our Stripe integration! First, just being able to switch to the card number input and fill it in means we’ve properly initialized the form using Stripe Elements. Second, we’re verifying that when Stripe hands our CreditCardFormController#handleChange function an error, we properly add that error message to the DOM.
Next up, we finish filling in that card input form. We have to use a bit of a hack to slow down the inputting. I’m not 100% sure why, but without that slow down we can end up with card numbers like 4424 242..., which are invalid. Anyway, once the card number input is properly filled out, we verify that that error message is removed.
☝️Then we repeat that process for the expiration and csv inputs.
Once every input is filled out, we submit the form by clicking the “Save” button. At this point, our stub kicks in calling that lambda which houses a couple assertions about proper params, and we verify the user is shown the successful flash message.
With that, every level of our Stripe integration is tested in an automated and repeatable way ✅
Conclusion 🎉
Stripe certainly makes it easy to hit the ground running, but I think it’s much harder to know if you’ve set things up the right way. This was a shot at that. If you can point to something we did wrong, or think of a way to do things better, I’d love to hear about it!
Again, all of this code can be found here. You can run the example just by adding your own Stripe test account credentials, and you can run the tests without even doing that! Hopefully, this write up makes it easier to jump in and take a look 👀